How to Get a Dog Used to You Trimming Its Nails
By George Walker — Walker’s K9 Services, Tucson AZ
Trimming a dog’s nails shouldn’t be a wrestling match, a fear event, or a two-person rodeo. When done right, nail care becomes just another calm part of your dog’s routine—no panic, no drama, and no running for the hills the second the clippers come out. The key isn’t force; it’s preparation, patience, and teaching your dog that nail trimming isn’t a threat.
Below is the balanced, practical approach I use to help dogs accept nail trimming as a normal part of life.
Step 1: Start With Neutral Exposure
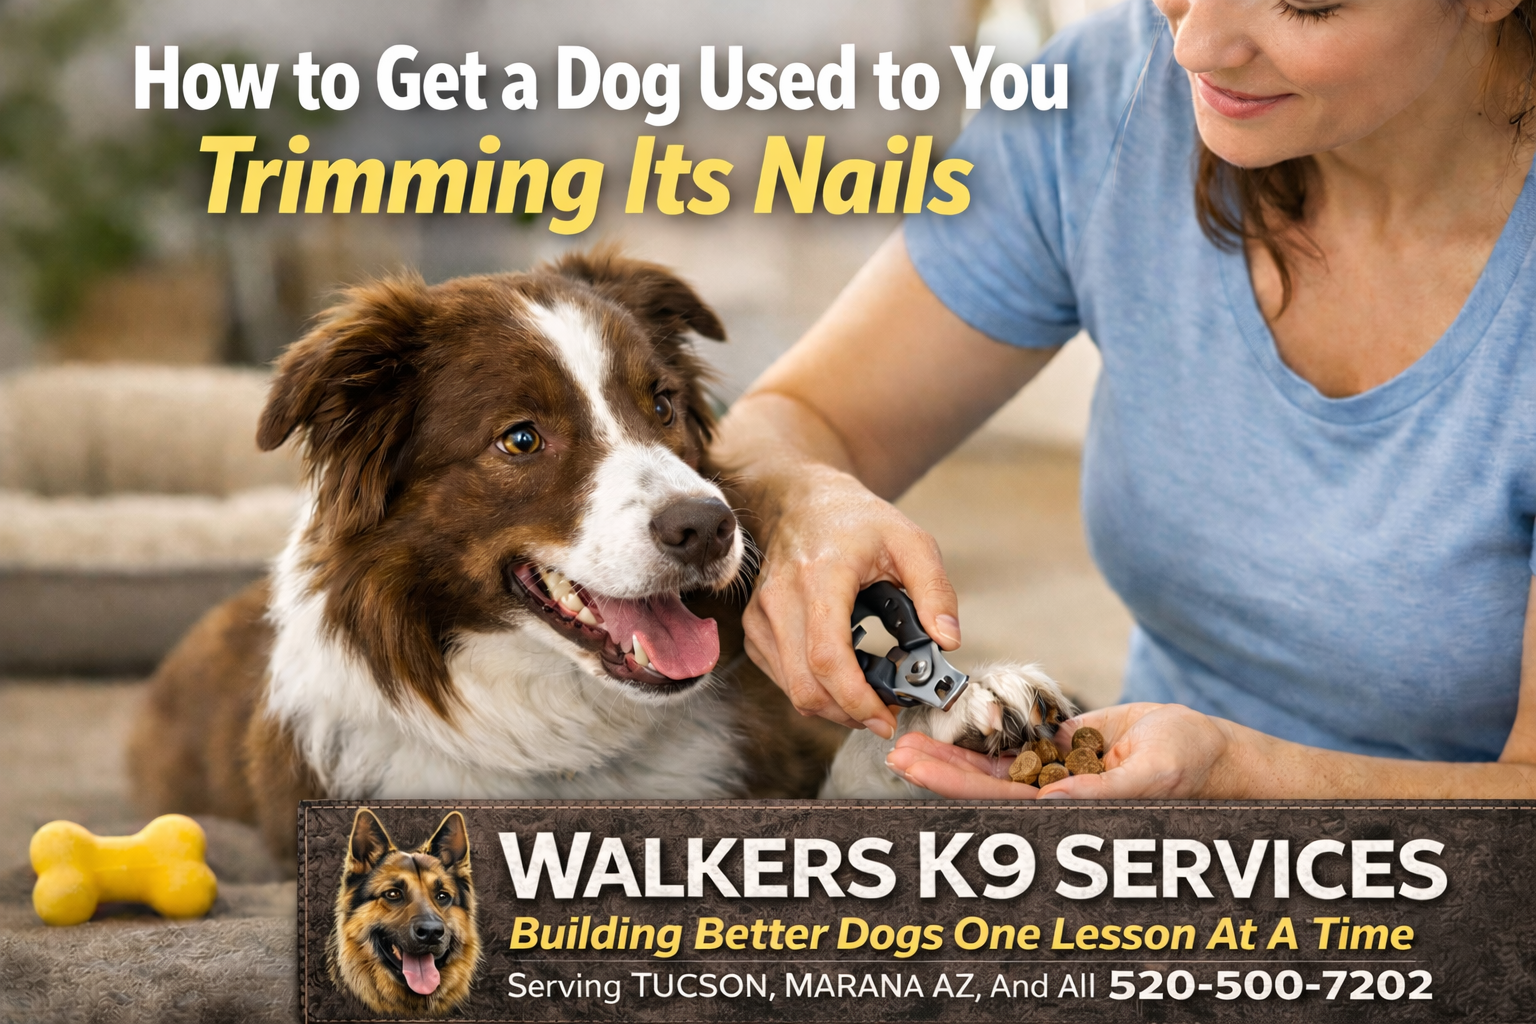
Before you ever attempt trimming, get your dog used to the tools.
For the first few days:
Bring the clippers or grinder out during relaxed moments.
Let the dog sniff them.
Tap the tool lightly on the floor or your hand so the dog
hears the sound.
Reward calm behavior with praise or a treat.
This is called desensitization—you’re removing
the “unknown factor” that often triggers fear.
Step 2: Teach Comfortable Paw Handling
Most dogs don’t hate nail trims—they hate their feet being grabbed.
Daily, for just a minute or two:
Gently handle each paw.
Touch the nails.
Apply light pressure to separate the toes.
Release and reward calmness.
If the dog pulls away, don’t jerk or clamp down. Just calmly follow the movement, then resume
the gentle hold when the dog relaxes.
You’re teaching the dog: “Nothing bad happens when my paws are handled.”
Step 3: Pair Calmness With Stillness
When your dog can tolerate paw handling, the next step is asking for brief stillness.
You can use:
A sit,
A down, or
A light leash hold to prevent wiggling.
Don’t restrain tightly, over-restraining triggers panic.
Reward your dog for staying still, even if it’s just one second at a time.
Step 4: Introduce the Clip or Grind Without Cutting
Before you actually trim anything, simulate the motion.
For clippers:
Bring them to the nail
Touch the nail
Remove them
Reward
For a grinder:
Turn it on several feet away
Slowly work closer
Touch the grinder to the paw without grinding
Reward
The dog should learn:
“The tool touches me and nothing bad happens.”
Step 5: Trim Only One Nail at First
When it’s time to actually cut, start small.
Trim one nail, praise, reward, and stop.
The biggest mistake owners make is trying to “get it all done at once.”
That’s how you push a dog into fear.
If you only get one nail the first day, that’s still progress.
As the dog gets more comfortable, you can do two nails… then three… eventually the whole paw.
Step 6: Stay Calm and Confident
Dogs read your energy.
If you hover nervously, hesitate, or flinch at every movement, your dog will mirror that stress.
Be calm.
Be deliberate.
Be of a matter-of-fact.
Your confidence becomes the dog’s confidence.
Step 7: Maintain a Routine
A dog who only gets nails trimmed “when they’re too long” will always be suspicious of the process.
Make it routine:
Handle paws every day
Bring the tools out often
Trim small amounts weekly or bi-weekly
Frequent, casual practice makes the entire process uneventful.
Final Thoughts
Getting your dog used to nail trims isn’t about overpowering them—it’s about teaching them that the process is safe, calm, and normal. Break it into steps, keep your energy steady, and build trust through repetition. Over time, most dogs go from fighting nail trims to tolerating them… and some even relax into the process completely.
Dog Training in Tucson, AZ Dog Training in Marana, AZ Training Options
Please help us by sharing our training articles
Written by: George Walker
Walker’s K9 Services — Tucson, AZ
520-500-7202